Last time we launched a Windows EC2 instance and ended up here.
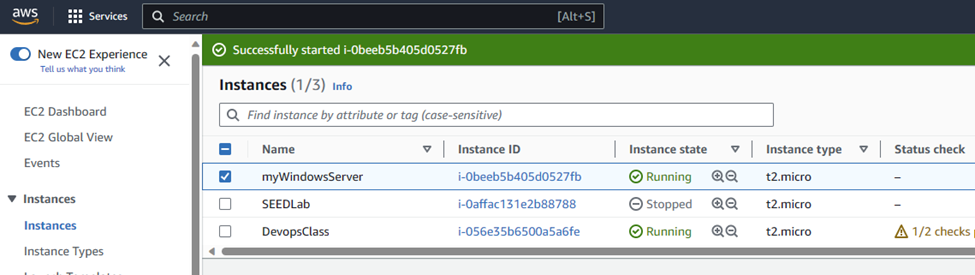
Now we’re going to go through the steps to connect to it via RDP.
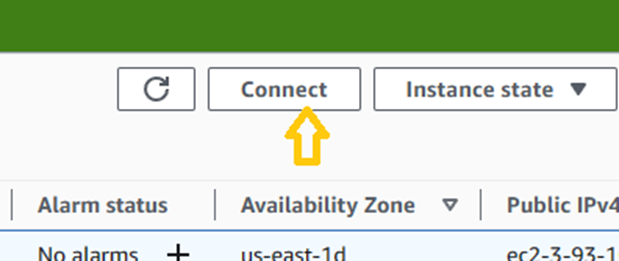
With the Windows server selected, click the Connect button at the top of the screen.
After which, you’re brought to this screen. When there click RDP client tab.
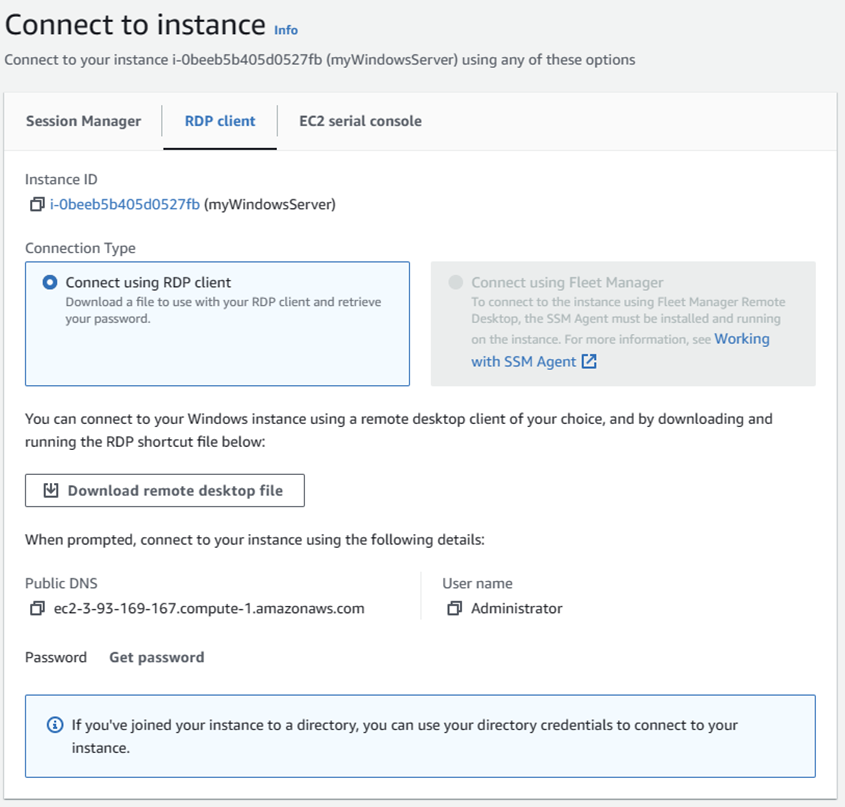
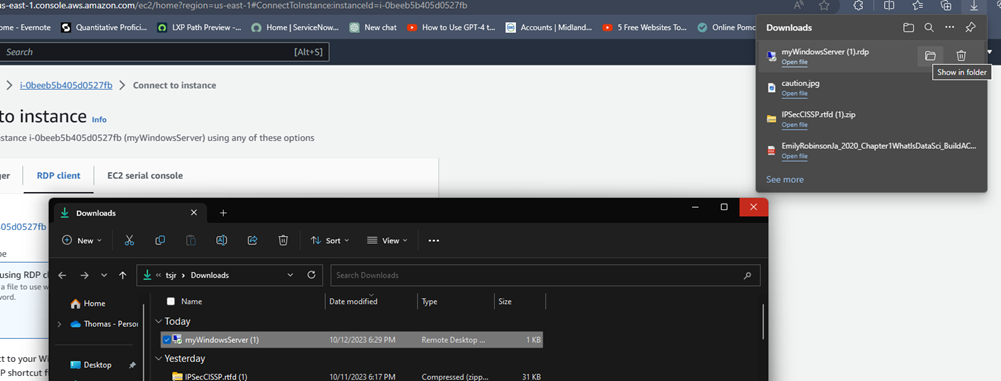
On this screen, click the button that says “Download remote desktop file” and the browser will initiate the file download. On my computer the Downloads folder is the default as illustrated.
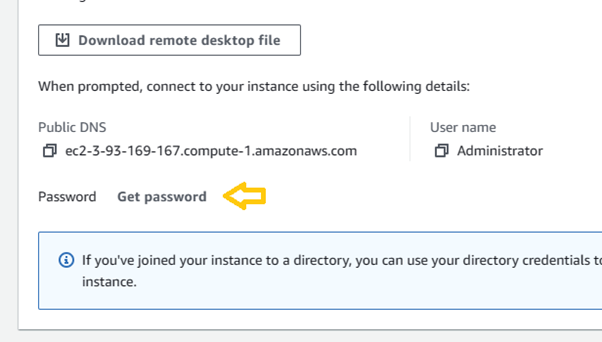
The Remote desktop file will require a username and password to connect to your Windows server, so we’ll need to make sure we get that.
Further down the screen, we see the username is Administrator, and on the next line we get a link that says, “Get password”. Click the link.
Which takes you to the “Get Windows password” screen. While there, click the button marked “Upload private key file” as shown in the illustration. You will be prompted for the location of the private key file we generated when we created the EC2 instance in the earlier lesson.
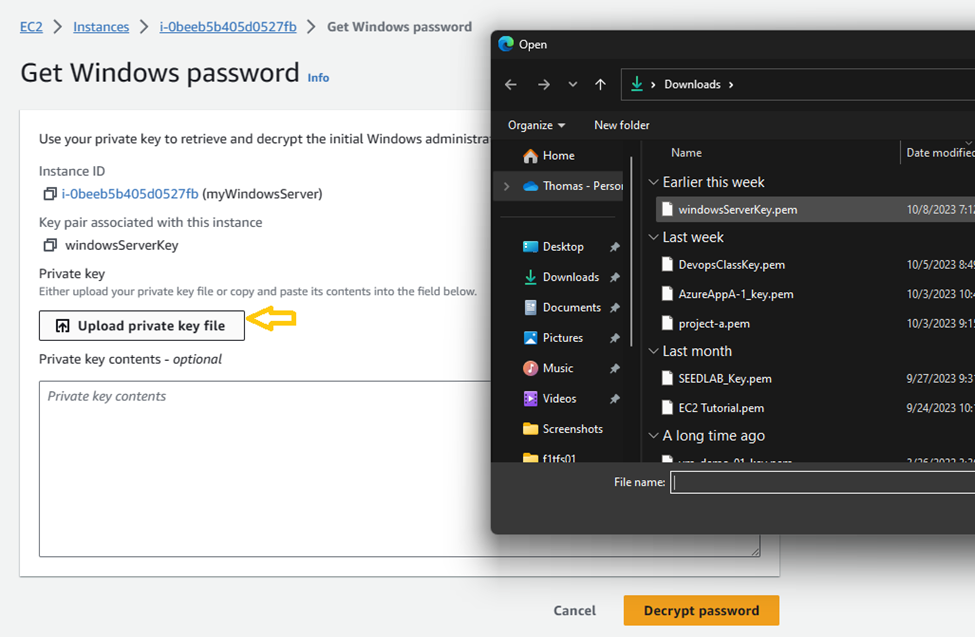
When uploaded, under private key contents you’ll see the private key contents of the file. Click the Decrypt password button.
Back at the “Connect to instance window, you’ll see the password you will use in conjunction with the username Administrator. Copy it.
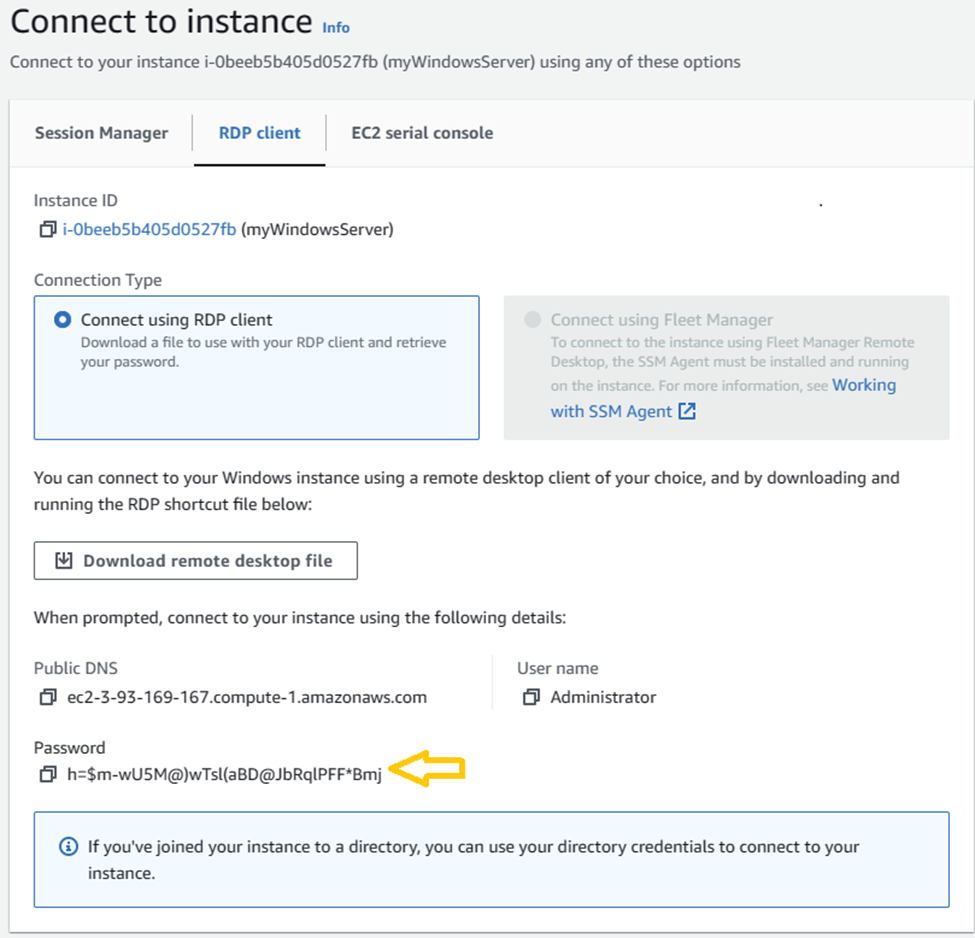
Now that we have our username and password, let’s find that remote desktop file we downloaded earlier and run it.
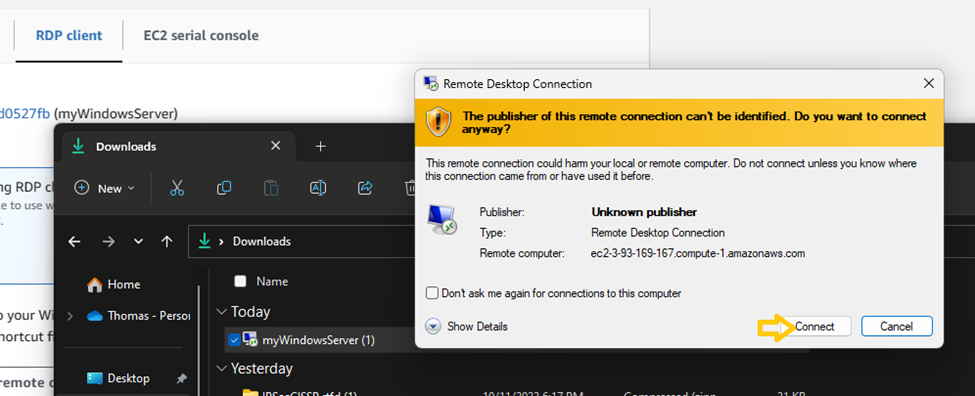
Click Connect.
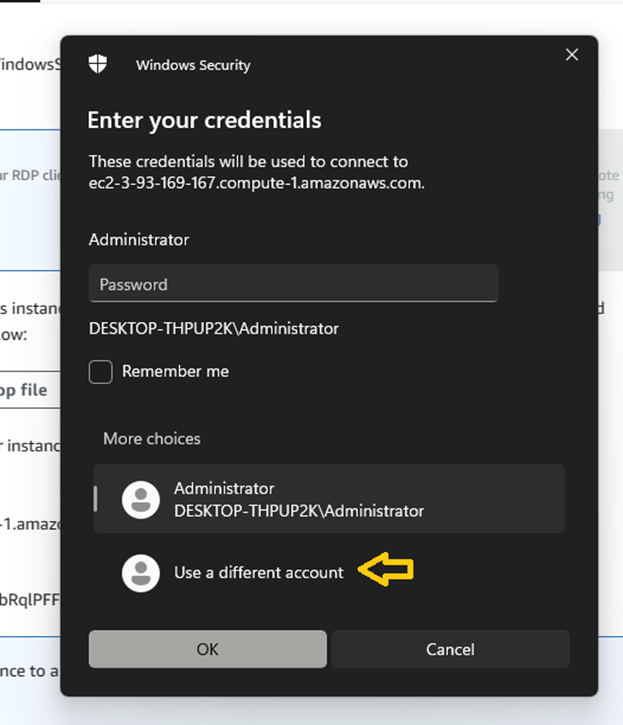
Next, you’ll be asked to present your credentials. Don’t use the default. Instead use “Use a different account”
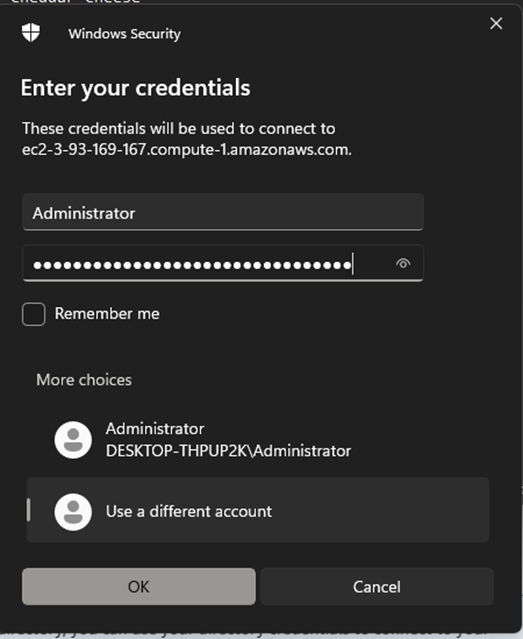
Now, you enter your credentials.
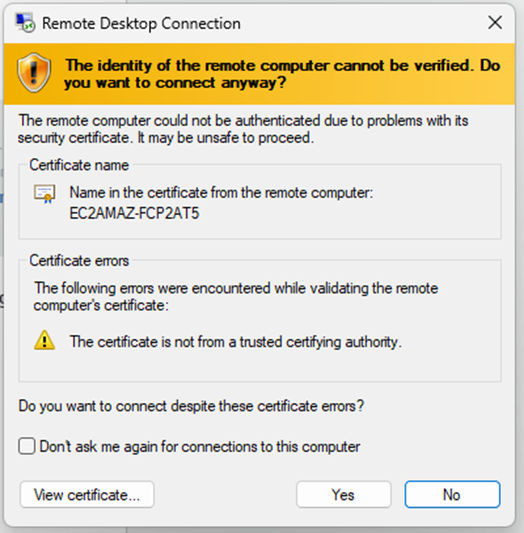
You may get the following message. If you do, click yes.
Wait a few moments for Windows to load….
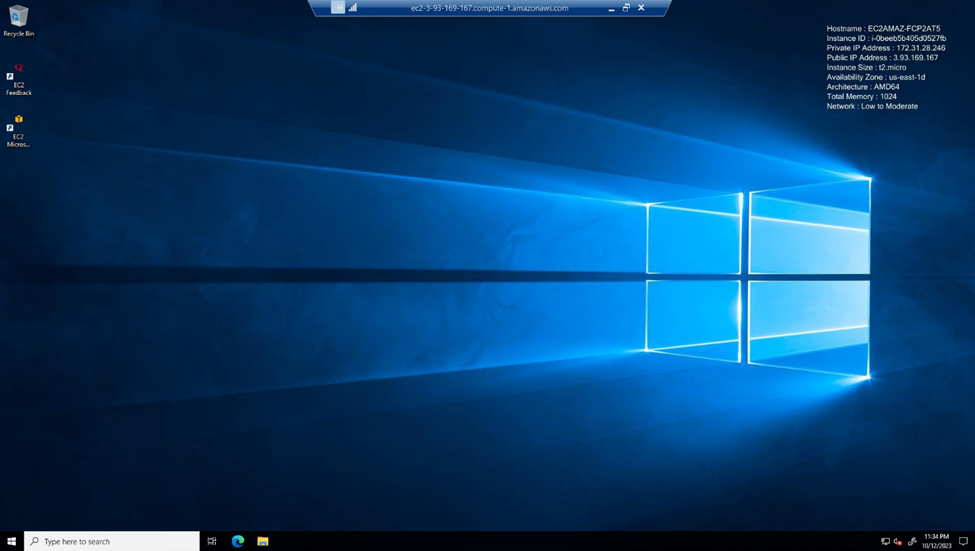
And we have successfully logged into our Windows server!
Leave a Reply