Why create templates anyway?
You’ve created, configured, an EC2 instance to you and your organizations specifications, you may want to consider creating a template for that instance.
Here are a few of the benefits of doing so:
Standardization: EC2 templates, often created using AWS CloudFormation or AWS Elastic Beanstalk, enable you to define a standardized configuration for your EC2 instances. This ensures that instances launched from the template have consistent settings and software configurations, reducing the chances of errors or inconsistencies.
Reproducibility: Templates allow you to recreate the same EC2 environment multiple times with ease. This is useful for development, testing, and scaling purposes, as you can reliably replicate your infrastructure.
Versioning: You can version your EC2 templates, which makes it easy to track changes and roll back to previous versions if needed. This is crucial for maintaining a history of your infrastructure configurations.
In short, EC2 templates in AWS offers a structured and automated way to manage and provision EC2 instances helping you save time and reduce mistakes.
How to create a template from an EC2 instance (step-by-step)
Once in the AWS console, from the search bar, type EC2 and select EC2 from among the listed services. You should be taken to the EC2 dashboard.
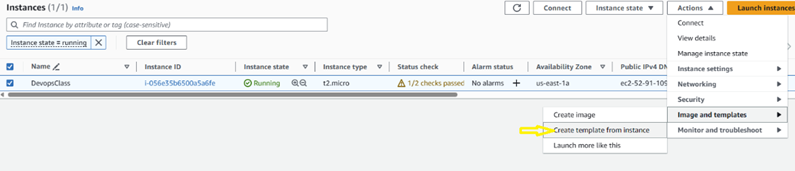
From the EC2 Dashboard, select the instance you want to create a template for, go to the Actions menu option and select “Create template from instance from the “Image and templates sub-menu.
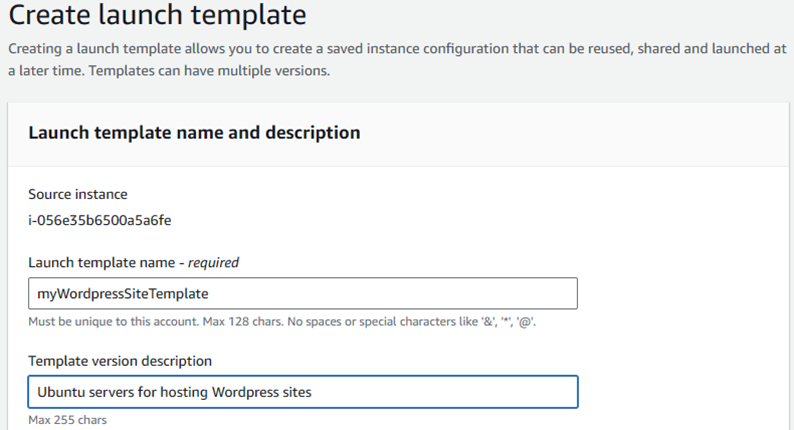
From the Create launch template screen, provide a descriptive name for your template and a brief description for the template in the appropriate fields.
Below are a number of optional settings which mirror the options that were presented while creating the instance on which this template was based on. For example:
- Application and OS Images (Amazon Machine Image)
- Instance type
- Key pair (login)
- Network settings
- Storage (volumes)
- Resource tags
- Advanced details
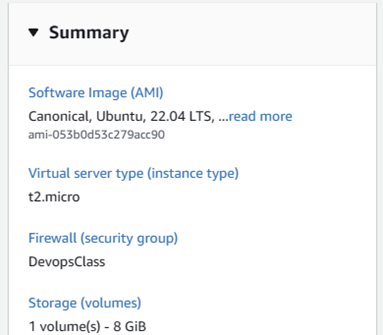
Notice, everything is pre-filled with the settings from the original instance. If you want to tweak the settings for all future instances created from this template, now would be a good time to adjust.
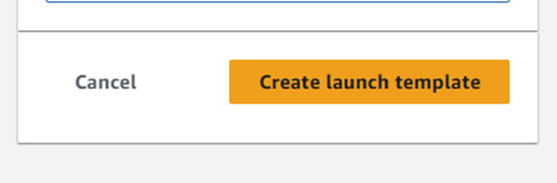
Take a moment to review.
If everything checks out, click the Create launch template button.
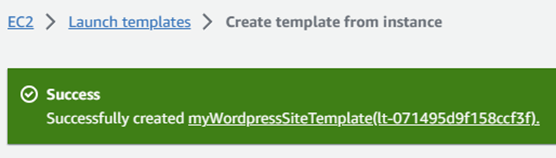
If things go according to plan, you should see the following:
How do you use templates to create more EC2 instances?
Now we’re going to demonstrate creating three EC2 instances at the same time from one template.
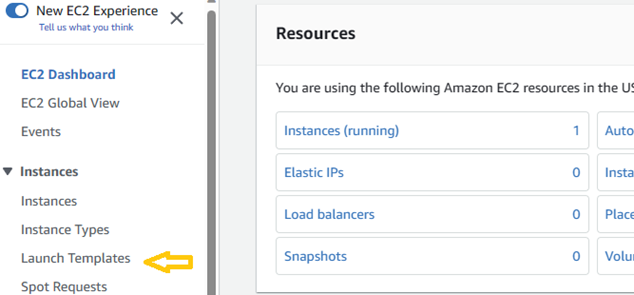
From the left pane of the EC2 Dashboard select “Launch Templates”.
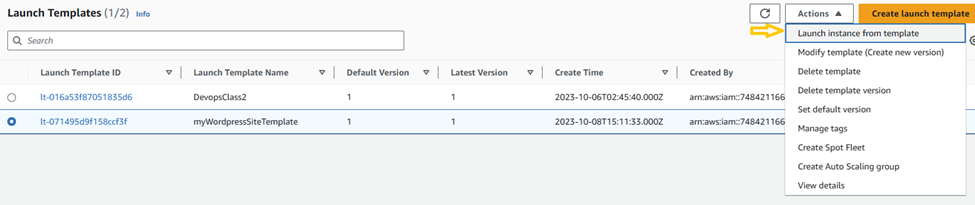
Select a template from the list of templates, go to the Actions menu option and select “Launch instance from template“.
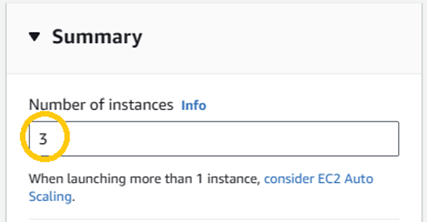
You’re now at the Launch instance from template screen. As with the Create launch template page, the template settings are also pre-filled. If you need to modify the instance(s) created from the template, here would be a good time to do so. Before we launch the instance, let’s take a look at the Summary and notice how there is a field for the number of instances you would like to create at one time. Here I’m selecting three.
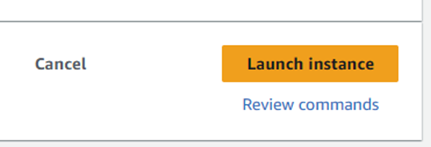
Select Launch instance at the bottom of the page to create the instances.
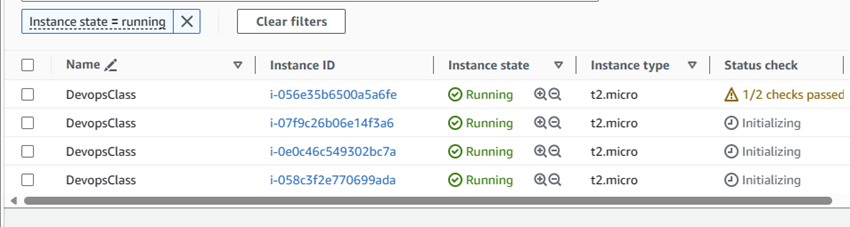
If successful, you should see the following:

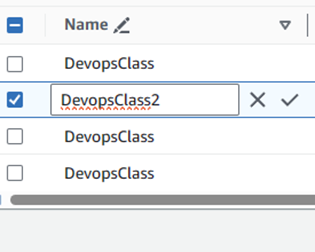
Now, when we see the list of EC2 instances there are four instances with the name DevopsClass; the first being the original instance from which we created the template we named myWordpressSiteTemplate, and the other three instances we spun off that template.
You’d probably like to rename each instance to differentiate them. Here’s how to do it.
Select an instance and hover your mouse to the right of it until you see a pen icon indicating that you can edit. Click the icon:
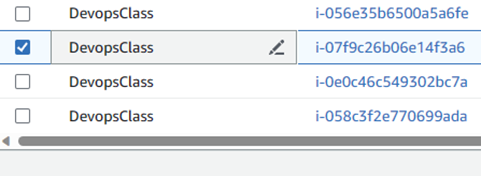
This makes the field editable. You may rename the instance.
You can do this for the remaining new instances and you’re done.
Leave a Reply