How to launch a Windows EC2 instance (step-by-step)
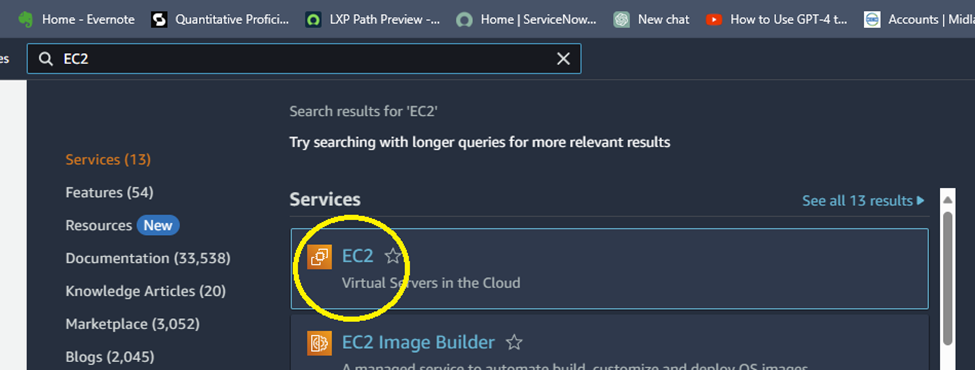
Once in the AWS console, from the search bar, type EC2 and select EC2 from among the listed services. You should be taken to the EC2 dashboard.
Before we create the Windows EC2 instance, we should create a Security Group first.
Not to say we can’t create a Security Group while we are creating the EC2 instance, it’s just that creating it at this stage gives us more options. So…
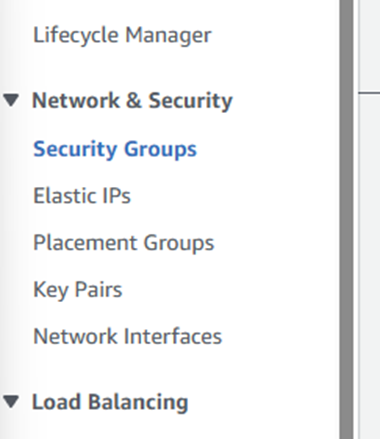
From the EC2 dashboard, on the right-hand side, look for the Network & Security section and select Security Groups.
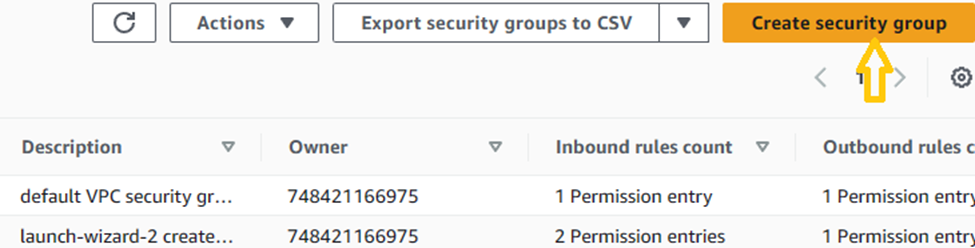
Click the Create security group button on the right-hand side of the navigation.
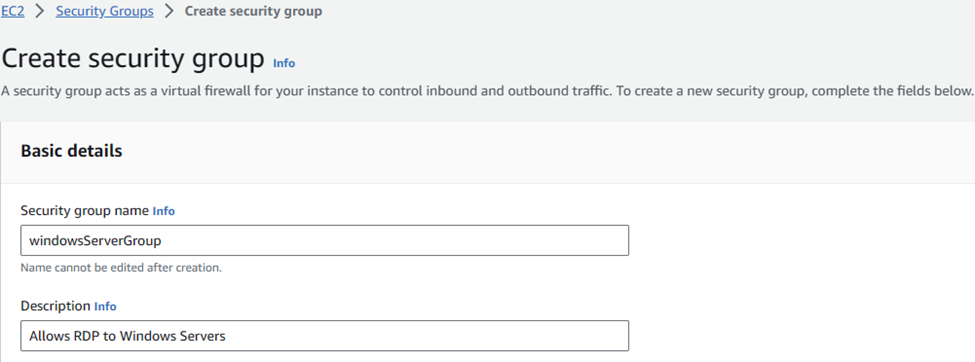
You’ll be brought to the Create security group screen. Under Basic details, give a descriptive name for the group as well as a brief description as shown in the example below.
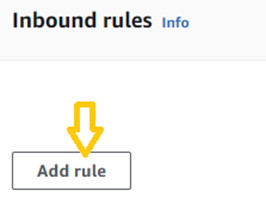
In the section marked Inbound rules you have to define the type of network traffic that will reach your Windows server. Click the Add rule button
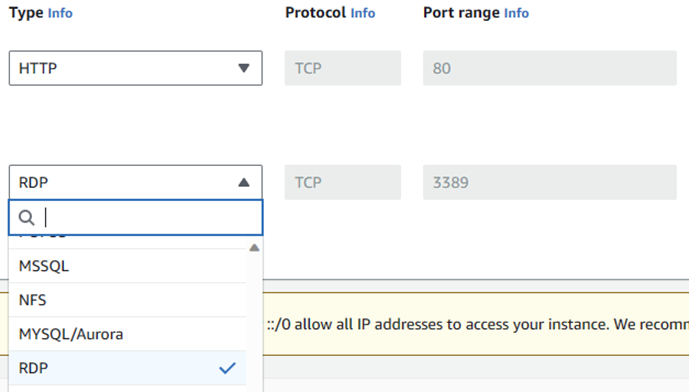
Since we would like our server to accept HTTP traffic we’ll define that now under Type.
Next, we’ll ensure that our server will accept HTTP traffic from anywhere so we set Source to Anywhere IP-4.

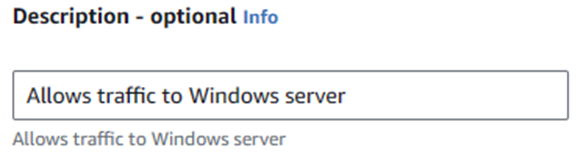
Finally it’s a good practice to write a brief description for this rule so we can remember what it does.
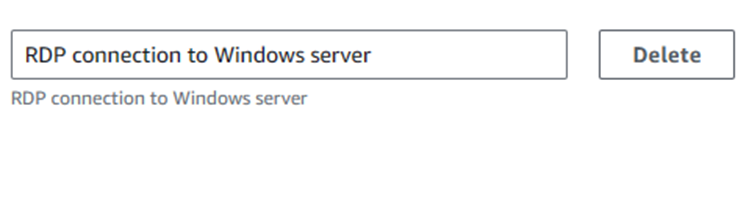
We’ll also need the server to allow you to use an RDP connection to manage it from across the internet. So, add another rule and select RDP from Type:
Then, as before, set Source to to Anywhere IP-4.

Then, for RDP write a short description.

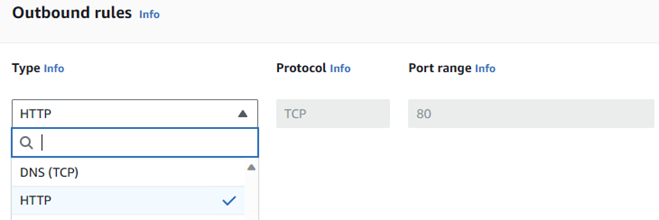
There is a section beneath Inbound rules called Outbound rules that can be configured, but you’re not ready for that yet. Don’t touch them. If you do, Theo will touch you!
You’ve been warned.
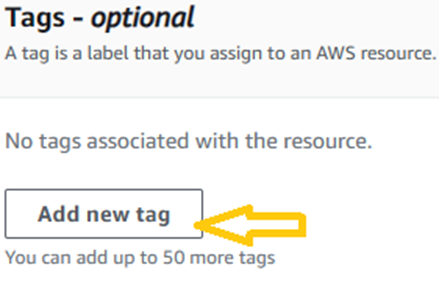
The final section on the Security group configuration page is Tags. Though it is optional, its considered a best practice to create tags and descriptions for any resource that allows it. Tags are a searchable way of identifying resources which will save you a tremendous amount of grief as the number of resources in your AWS account grows.
I know you’ll be tempted to skip this step… Just do it. You will thank me later.
To add a tag, click on the Add new tag button.
I’ve added two tags

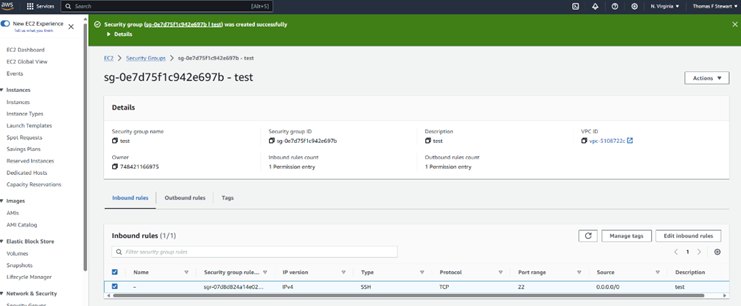
Now that you’re done, click the Create security group button and create that security group already.

When complete, you’ll be brought to a success page similar to this.
Now it’s time to launch our Windows EC2 instance. On the left pane, go to Instances.
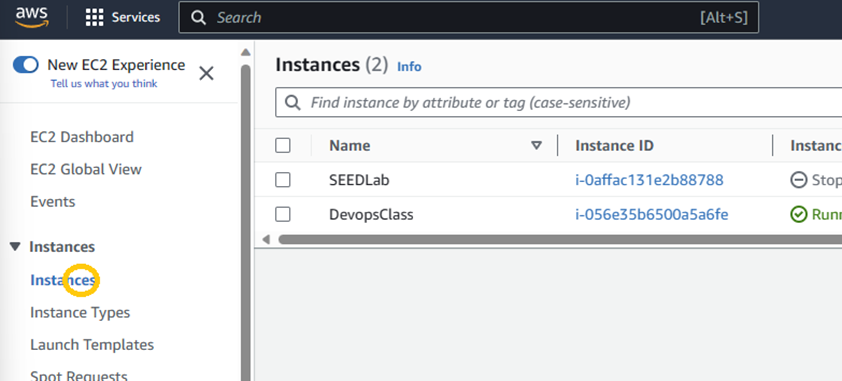
Click instances. You should be taken to the Instances screen.

From the EC2 Dashboard, click the Launch instance button to begin.
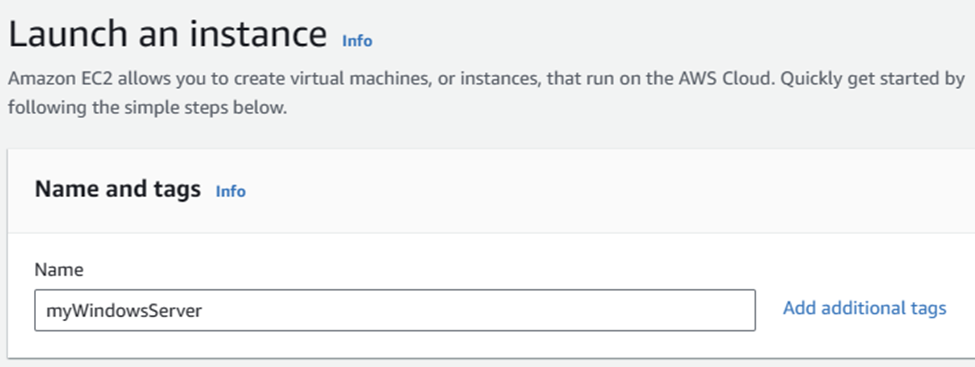
From the Launch an instance screen, provide a descriptive name for your instance.
Now, from the Application and OS Images (Amazon Machine Image) section, you will see different OSs available; MacOS and different flavors of Linux. For this demonstration we’re launching a Windows instance so let’s select Windows.
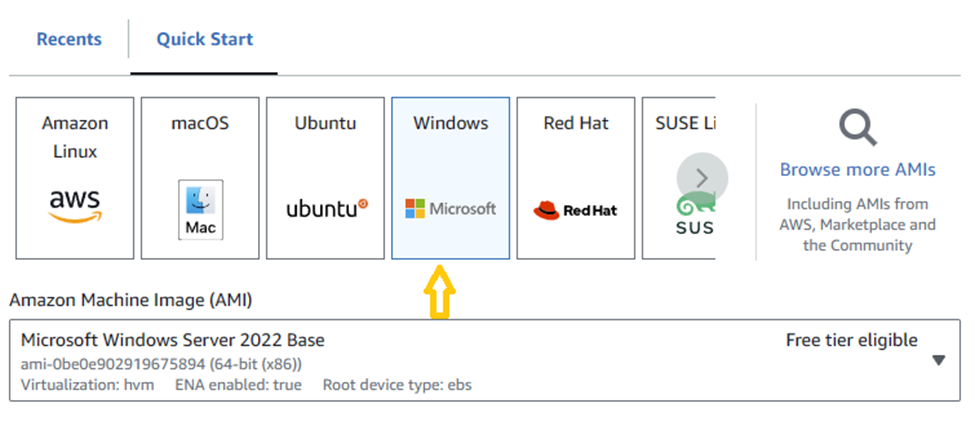
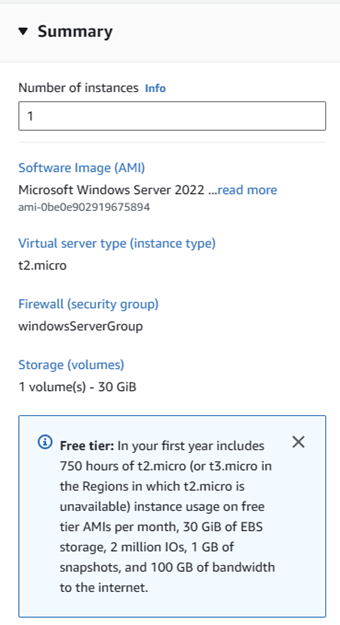
Once Windows has been selected, you should notice a drop-down menu immediately below when launched, will provide more options. I’m keeping the default Microsoft Windows Server 2022 Base which is Free tier eligible.
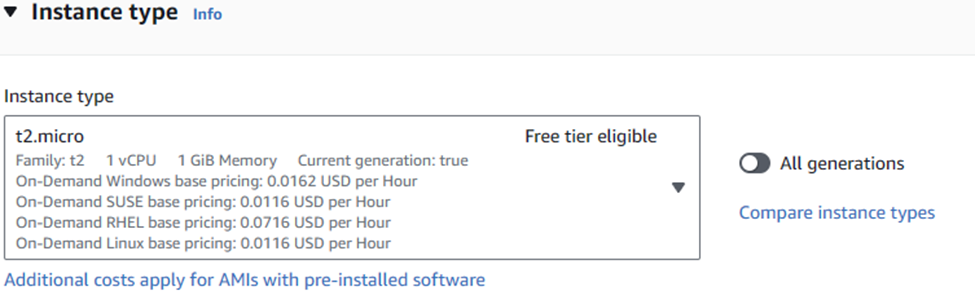
In the Instance type section, I’m keeping the default t2.micro as well as its Free tier eligible.
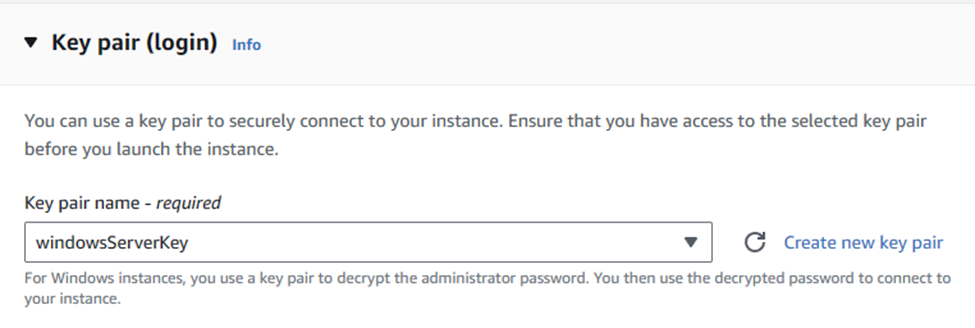
The next section is Key pair (login). The purpose of a key pair, in the simplest terms possible is to make sure only you and trusted people can log on to the server, keeping it secure using a digital key. Here, there is an option to select and use an existing keypair as illustrated,
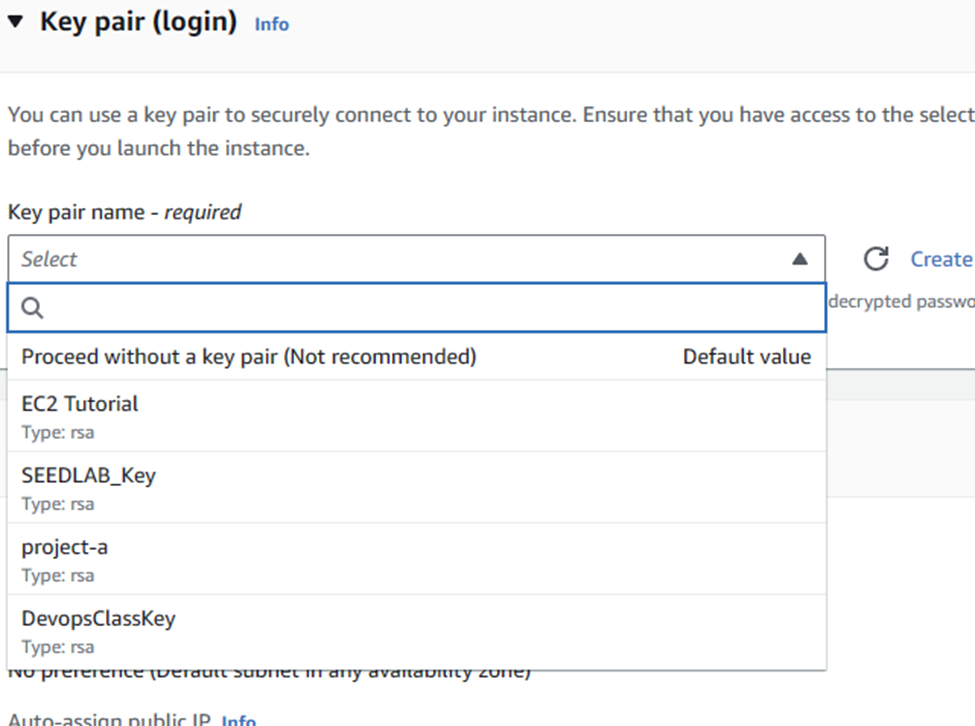
Instead, we’re going to create a new one by clicking on “Create new key pair”.
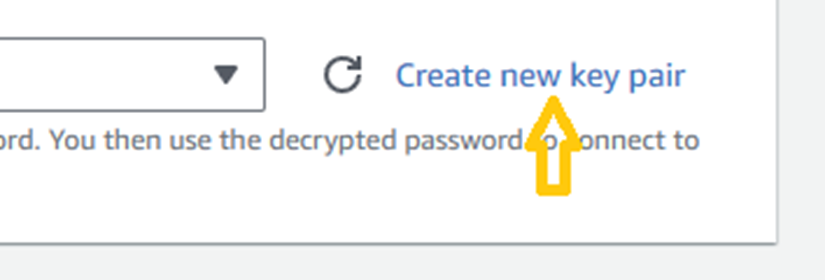
The following dialog box opens.
Give the key pair a name. Under “Key pair type”, only the RSA is available for Windows so there is nothing to do there. In “Private key file format”, you have two options:
Use .pem format if you’re connecting to your Windows server from a Linux computer, or from a Windows 10 workstation or above.
Use .ppk format if you’re connected to your Windows server from a Windows 8 workstation or below. Those workstations require an application called Putty installed, and it uses .ppk files to connect.
When done, select “Create key pair” button. When complete, a file with the Key pair name will be created. In my case, the file is called windowsServerKey.pem Make a note of where the file is saved. On my Windows 11 computer it’s saved in the Documents folder.
Back at the Launch instance screen, you’ll see your newly created key selected by default.
In the “Network settings” section, we’re going to use the default VPC, but when we reach the “Firewall (security groups)”, there’s two options: Create security group and Select Security group.
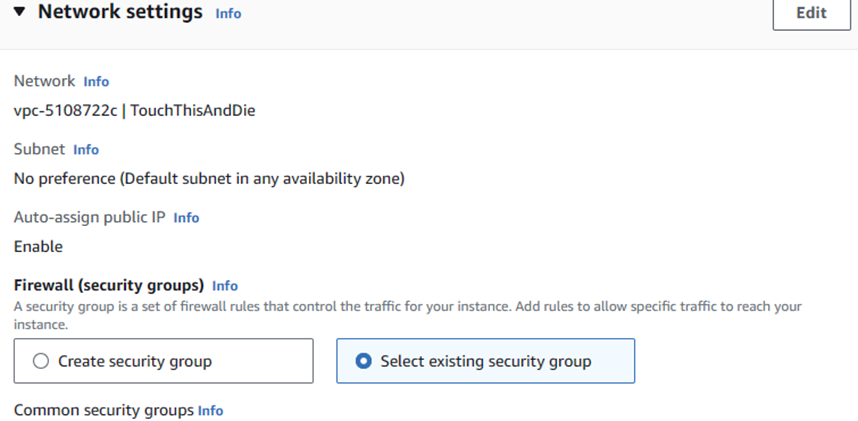
We’ve already created the Security group so we choose “Select existing security group”.
With that option checked, we are now presented with a drop down menu to choose from among existing Security groups.
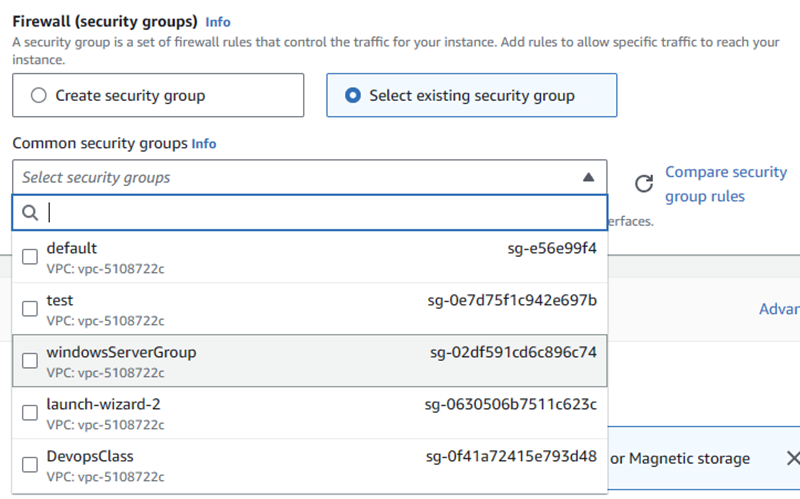
Of course, we select the one we created specifically for this instance windowsServerGroup.
For the purpose of this tutorial, we won’t do anything with Configure Storage or Advance details we’ll accept the defaults.
Before we finish, we should look over our configuration.
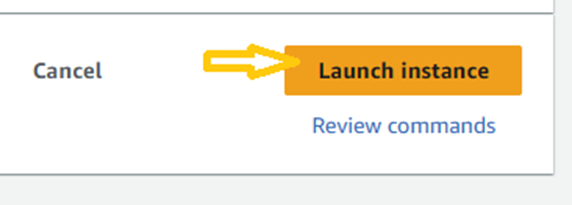
And now we can launch the instance by clicking the button Launch instance.
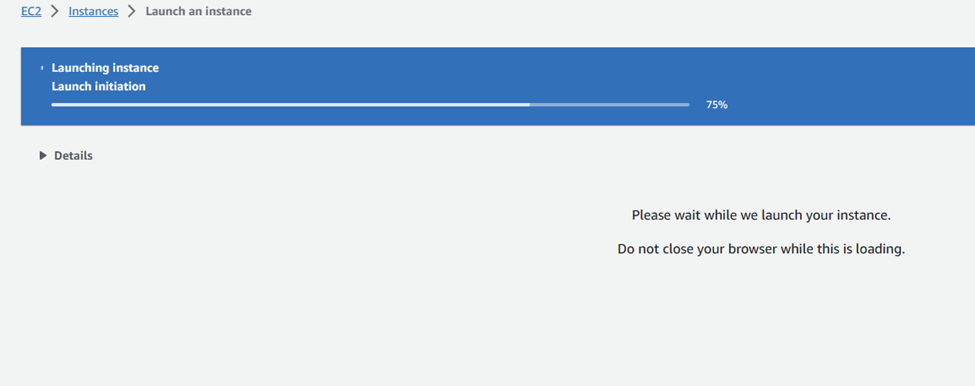
Let’s have patience while your instance is being created….
We have success!
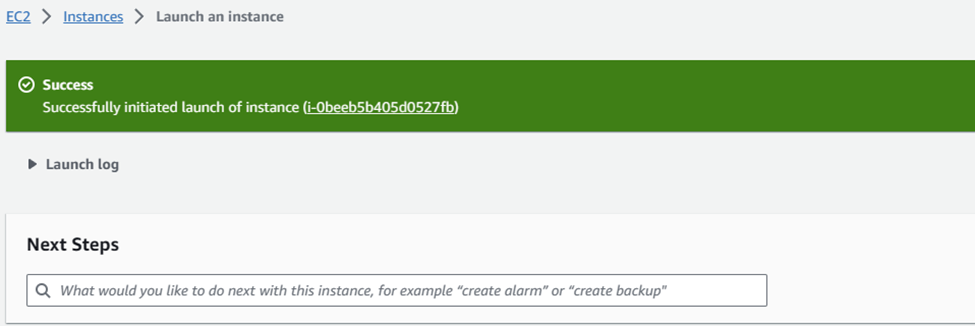
On the lower-left-hand corner of the page there’s a button marked “View all instances”
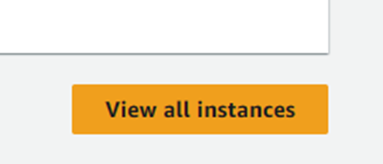
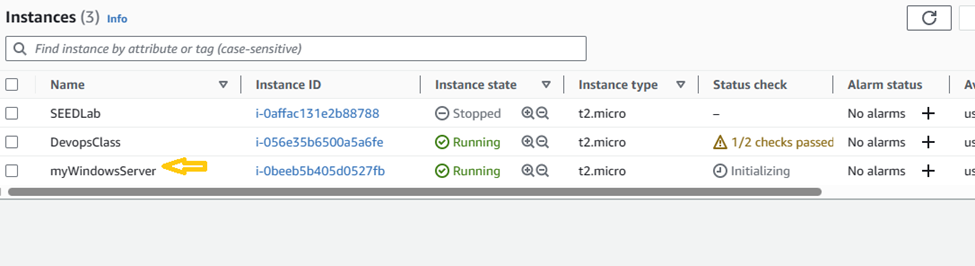
Click it and we see that our server has been created.
Leave a Reply